1. Getting Started
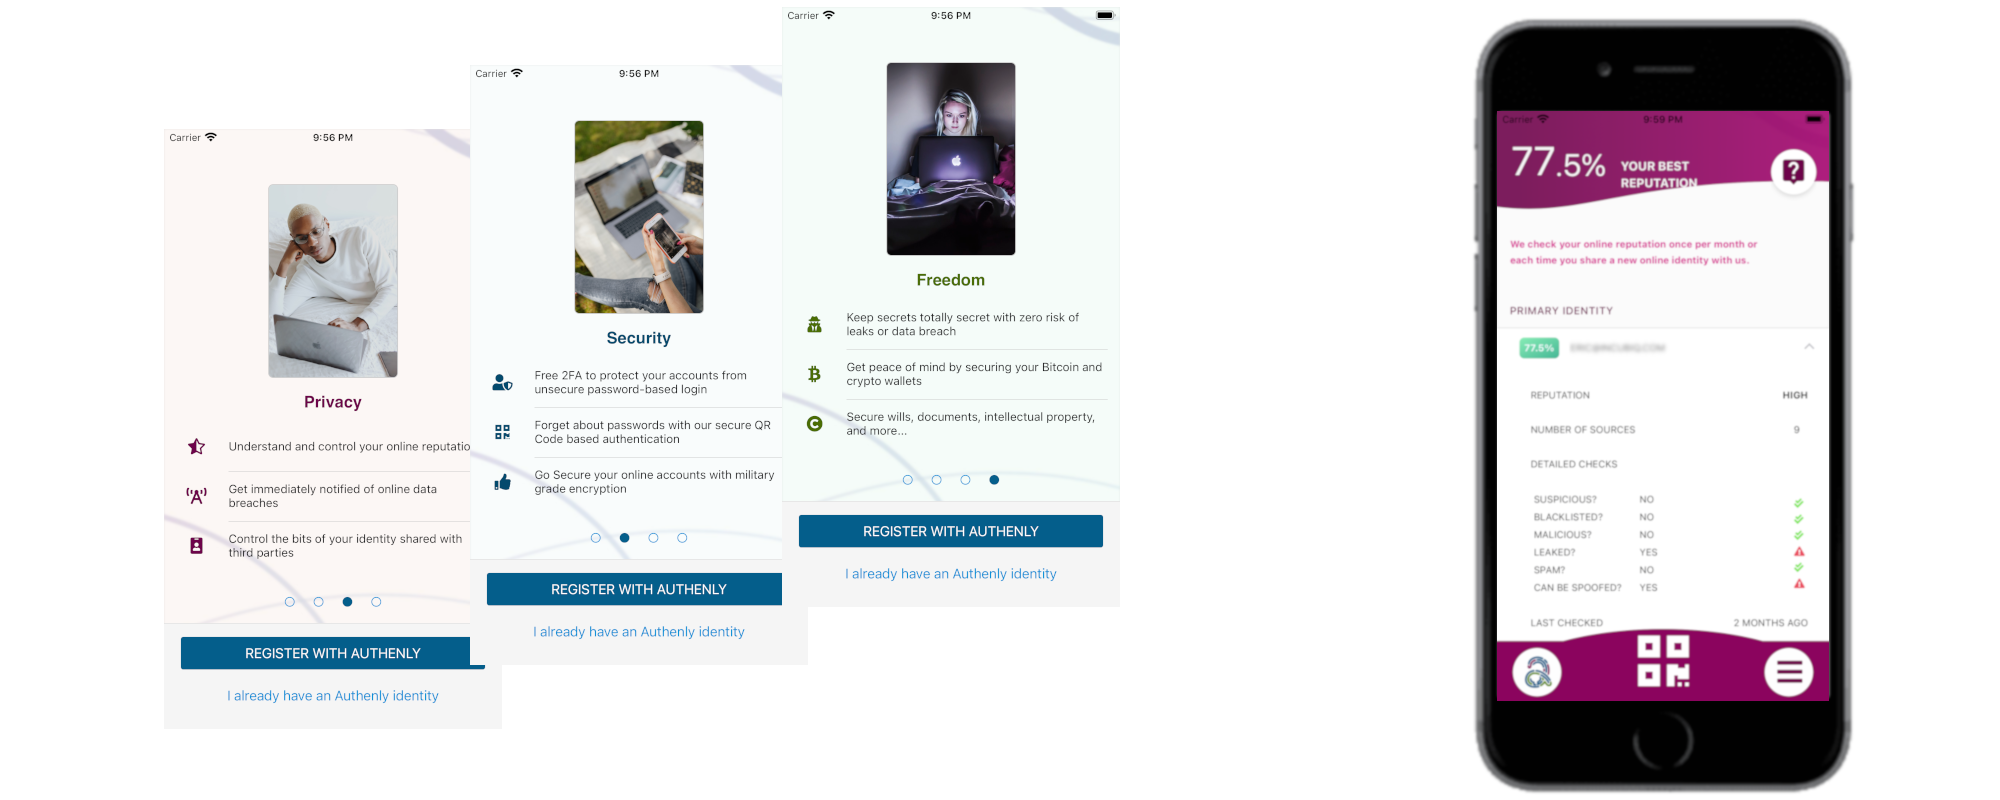
With Authenly, you can either add another authentication service to your website, or you can just replace all the existing ones and go "full-stack-passwordless"
We will guide you step by step to make a complete integration, leading to your first passwordless login.
2. Claiming a domain and configuration
An admin of your website needs to take ownership of the passwordless authentication provided with Authenly. If you have already integrated your application with some oauth 2.0 authentication providers, such as Facebook, LinkedIn, Google, or others, you will find the Authenly integration very simple, as Authenly supports the same oauth 2.0 protocol.
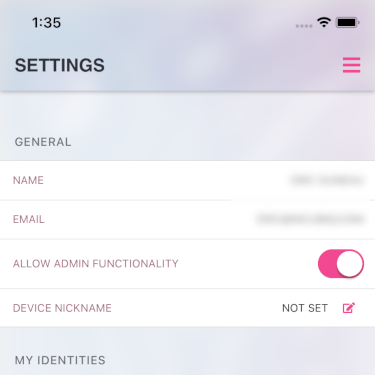
Setting up as admin
In the Authenly app, go to the Settings menu and toggle the "Allow admin functionality" to get additional credentials from the app.
Doing this will allow you to claim ownership of your domain within Authenly, or to request co-admin rights if the domain was already claimed by another admin before you tried to claim it.
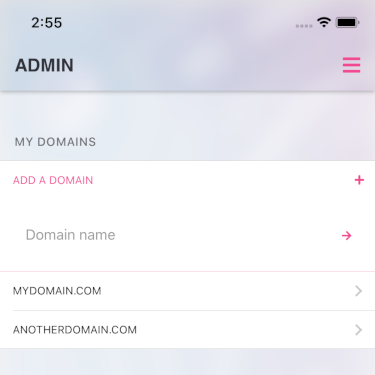
Claim your domain
Go to Admin menu, and click "Add a Domain".
Enter the name of the domain name you wish to claim, without any http or https prefix, and click the validation button.
As you validate the claim, you will receive automated email with a DNS TXT field to add in order to prove ownership of this domain.
Note that all the domains you have already claimed or are in the process of claiming (pending DNS verification) are listed in this view.
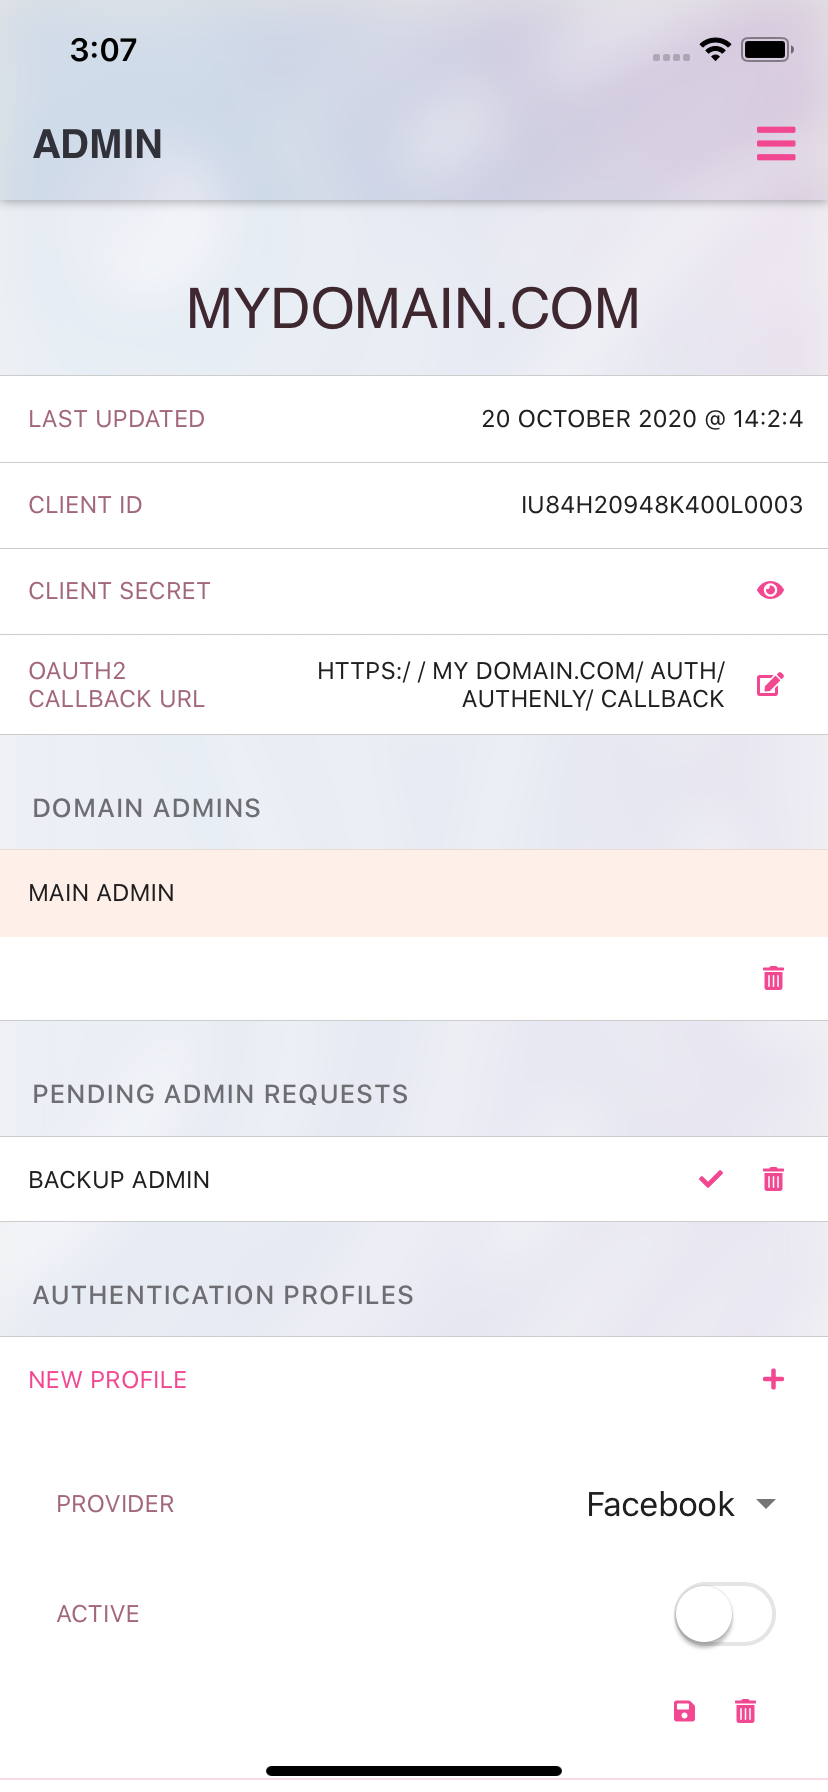
Edit domain settings
In the Admin panel, click on the domain you have successfully claimed (note that you need to pass the DNS validation before reaching this point).
A Client ID is generated for this domain. Keep note of it as you will need it to connect your back-end to the Authenly OAUTH 2.0 service.
You also have to generate your Client Secret key, which is generated once and then hidden, so place it in a secure place once generated.
Additionally, you have to set the callback which will be called on your domain by Authenly when a user authenticates.
Finally, you must also ensure that you have at least one activated and valid authentication profile. If you want to use Authenly's passwordless QR codes as the authentication service, you need to create a new authentication profile set with Authenly as the provider, and then set it to active.
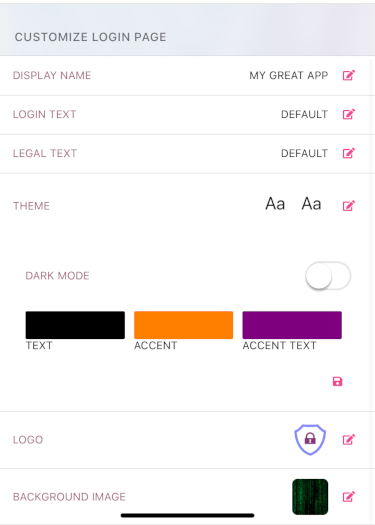
Configuring your login UI
Authenly allows you to configure some styles and texts of the login page generated automatically by Authenly, so that your end-users have a seamless and integrated user experience at login time.
You can set your application name, add a background image, specify your logo, colors for various texts, and customise your legal text and login text.
Basically, you can render the Authenly login page in your own style.
Testing your config
Once you have finished your first pass of configuration, you can use the test button of this domain admin view to check if your configuration is operational, and to have a preview of your personalised login page.
3. Back-end integration
Once your app settings have been configured and tested OK, you can proceed to the back-end integration.
NodeJS integration (setup)
Here is a simple NodeJS integration of Authenly
First, Authenly is best used as an add-on strategy of Passport JS. PassportJS is generally the solution of choice for integrating OAUTH 2.0 authentication providers, so it should be a very familiar solution to NodeJS developers.
Download the Authenly Passport extension here and add it to your project.
NodeJS integration (route)
Add two routes, the Authenly login and the Authenly callback to your backend. You can see an example in the code below.
NodeJS integration (strategy)
Finally, add an Authenly strategy management to extend passportJS native capabilities. You have an example in the source code below.
Testing your passwordless login
Run your server with the newly integrated Authenly capabilities, and trigger a login page. You should see an Authenly page with a QR code. With your Authenly app, as an end-user (not as an admin), just do a QR code scan, and Authenly should call your callback route with the details of the end-user (in this case your details).
Congrats, you just made your first passwordless authentication.
Now you can deploy your website to production with a new, secure, and friendly authentication!